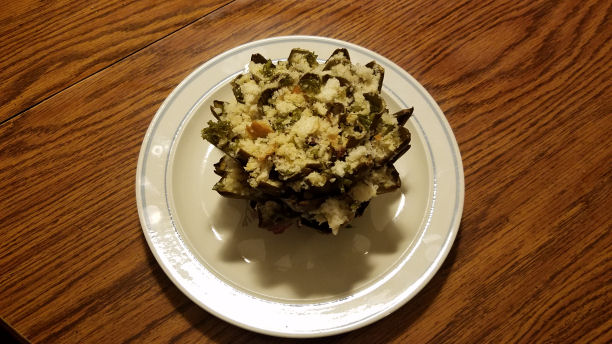
So, there are two slight misnomers in the title of this post. The first, as I mentioned in my last entry, is that this is not, strictly speaking, an Andorran food, but rather a food of Catalonia, Spain, which is right next door to Andorra. And it’s not just a food there – it’s an event. Calçotades are communal festivals dedicated to the mass consumption of the dish you’re about to read about. Since Andorran cuisine is described by every source I encountered as being “essentially Catalan cuisine,” I think this dish is fair game even if its origins lie in a neighboring country. (And Spain is big enough and full of enough culinary options that I’m not exactly worried about having used up one Spanish dish in advance.) More importantly to me when I was deciding what to make: even if it weren’t fair game, it sounded delicious. Grilled onions dunked in a savory roasted tomato, pepper, and almond-based sauce – what’s not to like?
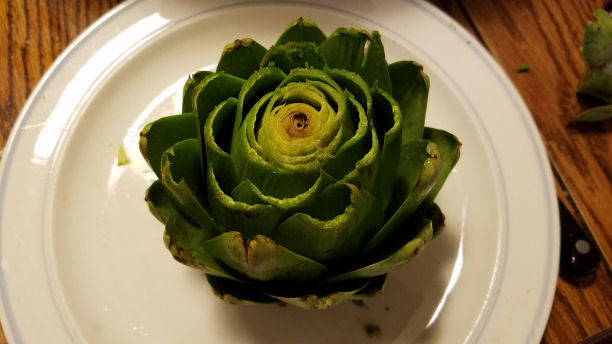
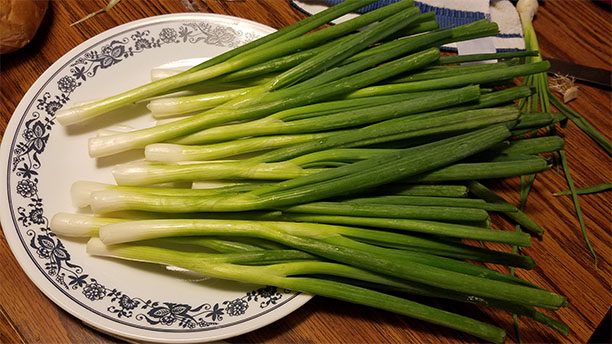
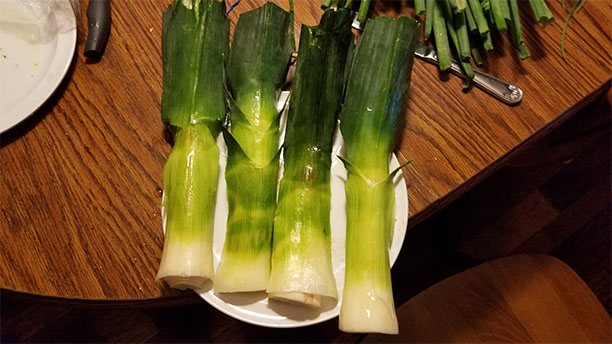
The second misnomer is the word “calçots” itself. The calçot is a specific type of green onion, bred and grown in such a way that the white part is 6-10 inches long. They look like this:
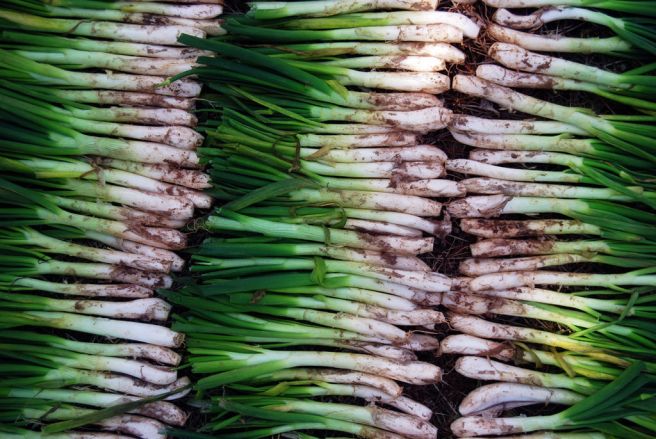
Unfortunately, calçots do not, to the best of my knowledge, exist around here as a thing one can purchase. I might have been able to grow some pseudo-calçots in the garden using the technique described in that Wikipedia article if I’d planned this meal months in advance, but, obviously, I did not do so. So my mini-calçotada featured regular green onions and leeks in place of proper calçots. As the “about” page on this blog says, I never promised to be perfectly authentic, but I hope that what I ended up with is at least reasonably close.
So, shall we grill some onions ‘n’ leeks?
THE PROCESS
Before doing anything with my onions ‘n’ leeks, I needed to make the salvitxada sauce in which they’d be dipped. I began by sticking my dried chili peppers in a bowl of warm water so that they’d become not-so-dry chili peppers. I left them there for about half an hour. While they were soaking, I poured some olive oil onto a cookie sheet, spread it around to coat the bottom, and then put my tomatoes on there. I drizzled a little more olive oil over each of them, and then they went into a 350° F oven to roast for 20 minutes. Soon their skins had split open and they looked nice and roasted.
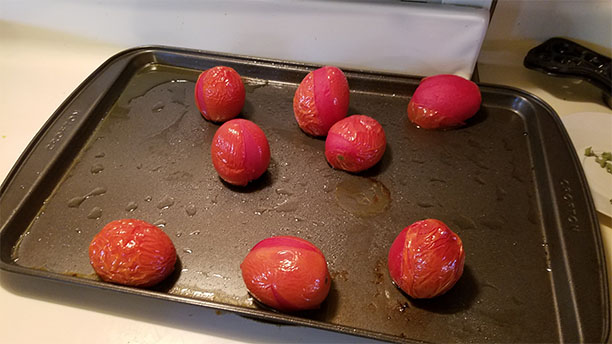
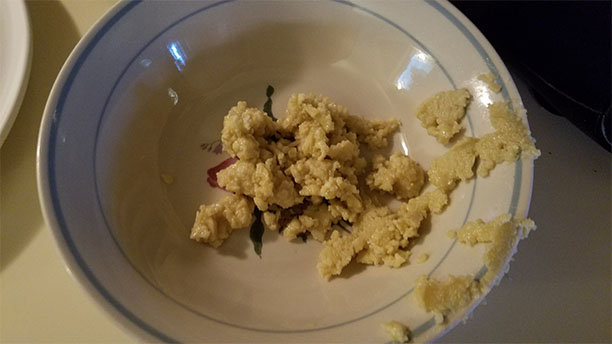
I let my flayed tomatoes cool for a few minutes before doing anything else to them. In the meantime, I added some more olive oil to a small frying pan, heated it up over low heat, and then added my slivered almonds. I cooked them (stirring them around often) for a couple of minutes until they were lightly browned. I dumped the contents of that pan (olive oil and all) into my little bullet food processor and let it chop the almonds a bit more, till they were more like a chunky almond paste than individual nut pieces. (The almonds would get chopped up more once they were mixed into the rest of the sauce, but having them be smallish to start seemed helpful.)
Somewhere around this point, the chilis finished soaking, so I removed them from the water, shook them out over the sink a bit (a fair amount of water ended up inside each chili, so pouring it out before proceeding was necessary to avoid making the kitchen any messier than it inherently gets when I’m cooking), and then sliced each one in half lengthwise, removed the seeds, and chopped the peppers into small pieces.
By now, the tomatoes had gone from 350° to “pretty hot, but not so hot that you’d burn yourself touching them,” so it was time to peel off what remained of their skins. (As the Boltons would say, those tomatoes have no secrets now! Although I’m not sure what kind of secrets a tomato would have in the first place. Embezzled topsoil? An illicit affair with a carrot? The buried evidence of a murdered potato?) I then cut each one open, removed most of the seeds (in theory, I should have removed all of the seeds, but that’s a pain in the butt and it’s not like a few tomato seeds were going to harm anything), and piled up the semi-disintegrated, mostly-non-seedy tomato chunks on a plate.
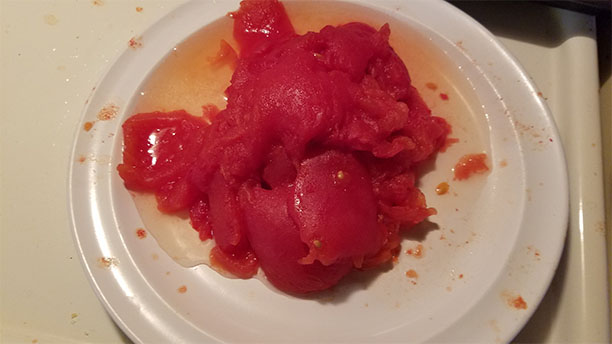
I poured off a little of that liquid you see in the picture, but given that it’s a mixture of olive oil and tomato juice and both of those things are supposed to be in the sauce anyway, I didn’t really try to drain them very much.
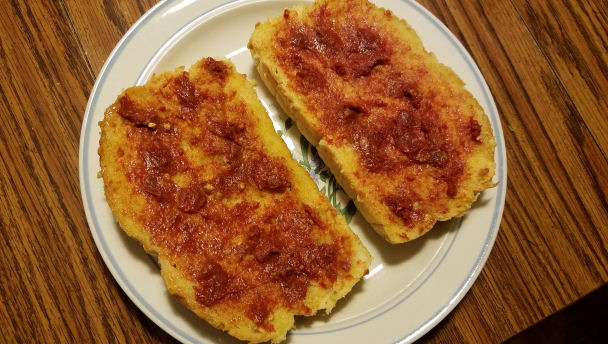
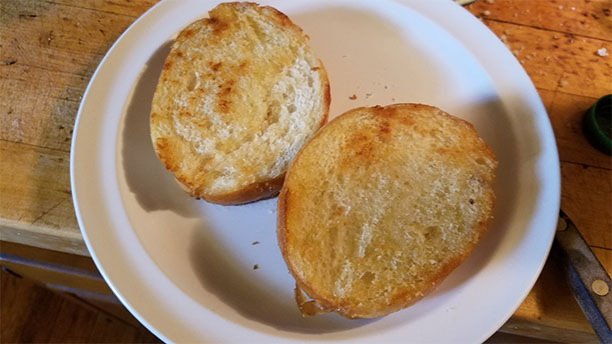
Next up: toast! One of my family members expressed surprise at the idea of toast being a significant component of a dipping sauce, but my sources were pretty clear that authentic salvitxada required it. I used the same pan in which I’d toasted my almonds, poured in yet another dollop of olive oil, heated it up to medium-low, and then dropped in my slices of bread (flipping them quickly to make sure each side got a coating of oil – if one side sops it all up and doesn’t leave enough for the other side, just drizzle a little olive oil over it. This is not a recipe in which “too much olive oil” is really a concern). I fried the bread until it was crispy and very lightly browned on each side – or at least that was the plan. In practice, I got called away from the stove briefly while the bread was toasting, and while I was only gone for a very short period, it was apparently juuuuuust long enough to overcook the toast. Hmph. Luckily, I had the whole rest of the loaf to work with, so I just carved off two more thick slices and tried again. The second attempt was much more successful:
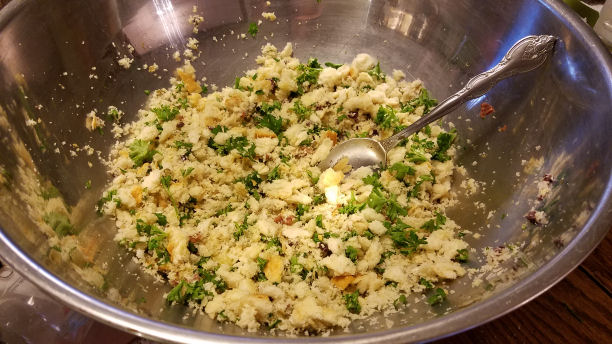
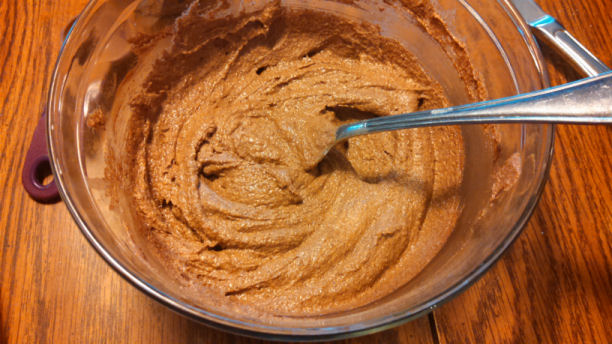
All my salvitxada ingredients were now ready to go! It was time for the full-sized food processor. Into it went the tomatoes, the chopped peppers, and the almonds. I crumbled one slice of toast in there too (I would end up adding roughly 1/2 to 2/3 of the second slice once I got to the testing-the-consistency stage), and then added the garlic, red wine vinegar, salt, pepper, paprika, and mint leaves. It made for a pretty colorful mélange.
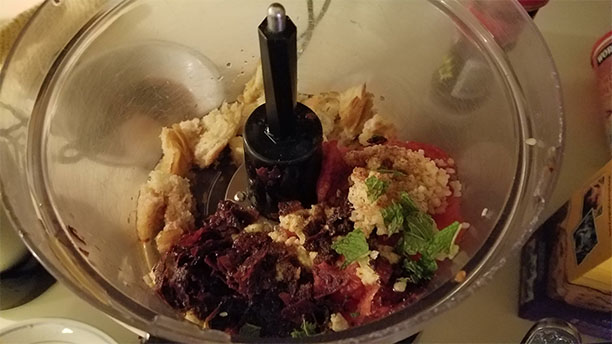
I popped the lid back on and let the food processor do its thing. Once everything looked pretty well blended into a cheerful, bright orange sauce, I did some consistency and taste testing. You can obviously add any of the ingredients that you have more of at this stage, but your most likely additions will be toast (if you only put in one slice to begin with) or olive oil (if the sauce seems a bit too thick – although you want it reasonably thick, since runny dipping sauces don’t work so well). Once I was satisfied with my salvitxada, I let it be and proceeded to deal with the onions ‘n’ leeks.
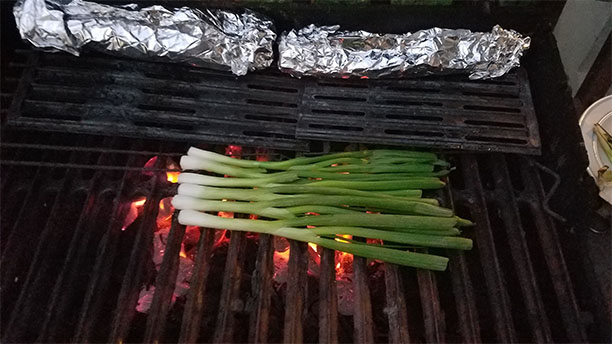
First up: putting charcoal in the grill and getting it nice and hot. I used mesquite charcoal, since that was recommended as an option in several of the recipes I saw, and also because I like mesquite. (Because I’m not the grill-master in the house, I let that family member handle the charcoal-heating. This would turn out to be a slight mistake on my part, as you’ll see in a moment.)
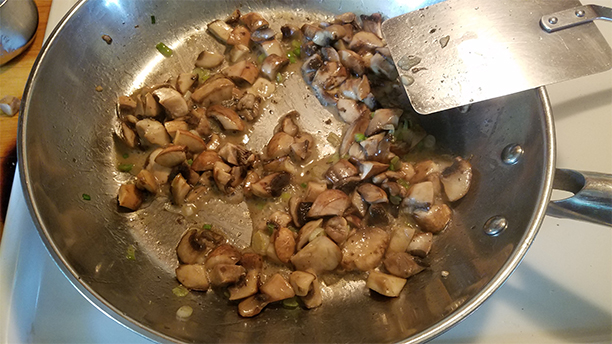
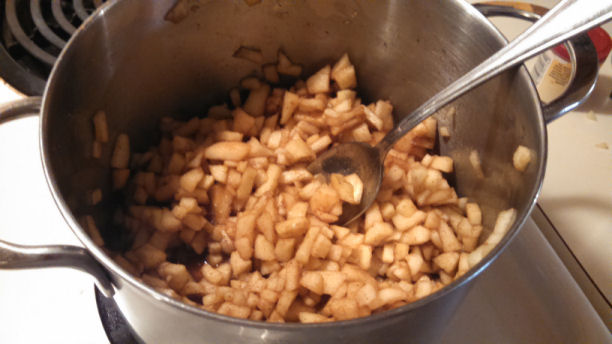
While the grill was heating up, I chopped the squiggly-root ends off my green onions, chopped both ends off the leeks, and then, since my leeks were pretty fat and I wanted them to get cooked through, cut the leeks in half lengthwise as well.
It was now grilling time! And it was also now finding-out-why-I-probably-should-have-supervised-the-grill-setup time. You see, in proper calçotades, the calçots are meant to be cooked over pretty intense heat. If you do a Google image search for “calçotada,” you will see numerous pictures in which the calçots are actually engulfed in flames. Normally, when grilling, you want the flames to die down first so that you don’t blacken the outside of your food without cooking the inside – but blackening the outside is, in fact, exactly what you’re supposed to do as the first step in grilling calçots. Unfortunately, I wasn’t specific enough when I described this dish to the resident grill-master, and he (quite reasonably) assumed that I wanted the flames to subside and the coals to get down to a more typical grilling heat. He also didn’t fully understand that I was hoping to cook a lot of onions and leeks at once, and therefore only put coals in a relatively small section of the grill. Since at that point, adding more coals and starting over would have been pretty difficult and everyone was hungry, I decided to make the best of it.
So, as I said, you’re actually supposed to blacken the outside of your calçots (or calçot substitutes), and then, once they’re blackened, wrap them up (traditionally in newspaper, but I used aluminum foil), move them to a less-hot part of the grill, and let them steam in their wrappers until the insides are cooked, too. Since there really wasn’t any way to blacken them at the heat level I had (and also the hot section of the grill was only big enough to accommodate roughly six green onions or two leek-halves at a time, and I didn’t want to be there all night), I just grilled each set of onions or leeks till they had fairly dark char marks. Then I’d drop the hot veggies onto a foil sheet, wrap them up, move them to the side, and start grilling the next set. I left each foil packet on the grill for fifteen minutes or so, which seemed to be sufficient.
I’m not going to lie: this was a frustratingly slow process. It was absolutely my own fault for not clearly explaining what I wanted grill-wise (or just setting up the grill myself), but I was getting pretty grumpy by the time I got to the last few green onions, largely because it was well past dinnertime, I’d skipped lunch that day, and I had to keep cooking things rather than eating them. You know those Snickers commercials where people turn into celebrities when they’re hungry? It was like that, except instead of turning into a famous person doing something humorous, I mostly just turned into a grouch who wanted to eat some freaking grilled onions already. Which is a shame, because turning into Betty White or Danny Trejo would have been pretty awesome!
Anyway, I muddled through despite my lack of famous person transformation, and eventually enough of the onions and leeks were done that I could leave the last couple of foil packets to steam without my active supervision and go eat!
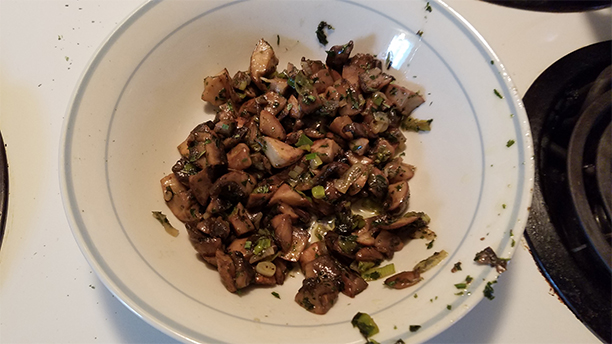
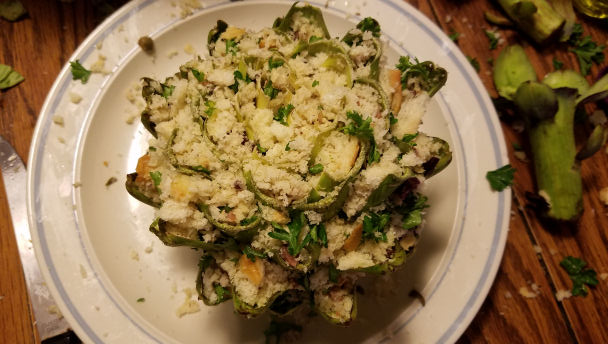
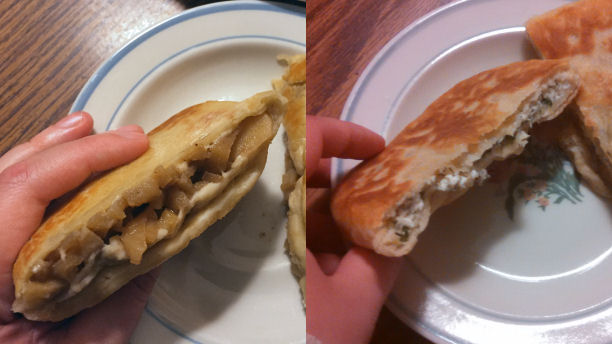
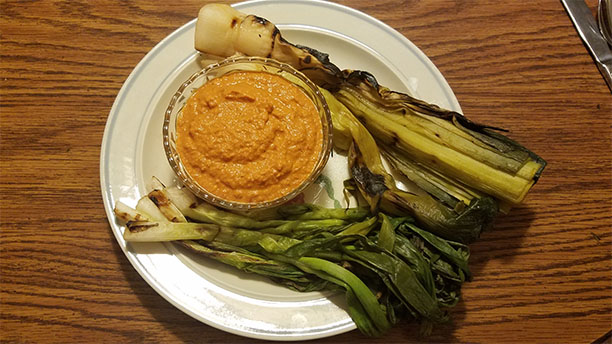
Before I get to “THE VERDICT,” though, I have to briefly explain how one eats calçots. The idea is that you peel off the outermost blackened layer (or, in my case, the outermost somewhat charred layer), dunk the remaining onion-y part of your calçot in the salvitxada, and then chow down on hot, smoky, saucy onions. (Also, traditionally, you’re supposed to have them with lots of bread and lots of red wine. I didn’t happen to have any red wine on hand, so I had to skip that part, but I did still have plenty of bread!)
THE VERDICT
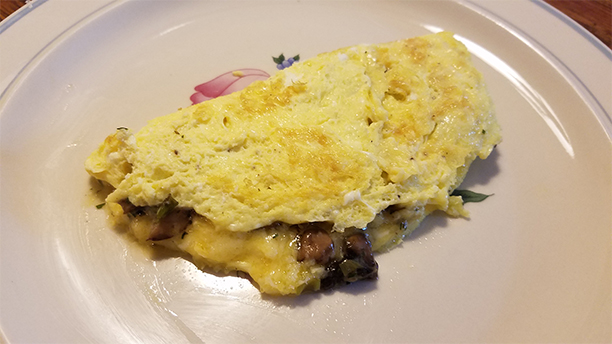
Pretty good!
I have to give this dish a little bit of a mixed review. The truth is, the onions and leeks weren’t as impressive as I would have liked. The lack of blackening heat meant they didn’t really pick up the smoky flavor they’re supposed to have, and the lack of actually being calçots meant that the oniony part of each green onion was small enough that I only got one or two bites out of each of them, and the leeks were kind of a pain, since cutting them in half meant they really wanted to fall apart and cook unevenly (but if I hadn’t cut them in half, they would have taken approximately 47 years to cook through, or at least that’s what it felt like considering how long they took as it was). Both the onions and the leeks were tasty, to be clear – they just weren’t quite as tasty as I would have hoped. That said, they were certainly good enough that they all got gobbled up pretty quickly – and as for the salvitxada? That was freaking delicious. I was very happy that I ended up having a fair amount of it left over after all the onions and leeks had disappeared, because besides being a great dip for onions and leeks, it was also a pretty great dip for crackers, a tasty topping for grilled chicken, and a super yummy spread to put on slices of crusty bread. I’m not sure I can accurately describe the flavor – I mean, it obviously tastes like roasted tomatoes, chili peppers, almonds, olive oil, mint, garlic, paprika, and so forth, but that combination of flavors isn’t really like anything else I’ve eaten before, so I’m not sure what I can compare it to. Mostly it tastes like “yum.” And yum is a good way to taste!
If I made this again, obviously, I’d want to get the grill set up differently so I could try blackening the green onions and leeks more authentically. But honestly, I’m not sure I’d bother making them again – even if they’d been blackened authentically, I feel like green onions and leeks would never quite measure up to actual calçots. I guess I’ll just have to go to Andorra (or Catalonia) and try the real thing! Sooooo…anyone want to pay to fly me to Europe?
As for the salvitxada, I would definitely make it again. I do think I’d tweak it just a little bit, though. The New Mexico chilis I used had a really lovely flavor, but very little heat – no one would call my salvitxada spicy. (Well, okay, a person who buys “extra mild” salsa might, since it’s probably about as spicy as extra mild salsa. Presumably someone out there thinks extra mild salsa is spicy, given that it exists as a thing one can buy. I kinda feel sorry for that person, though, because man, think of all the delicious Thai and Indian food they can’t eat at all. I don’t even want to imagine a life without Thai and Indian food!) When next I make salvitxada, I think I’ll probably put in three or four chilis instead of just two. That still wouldn’t be hot, by any means, but it ought to give it a little extra kick (maybe up to “mild” salsa level), and I think that would make it even tastier!
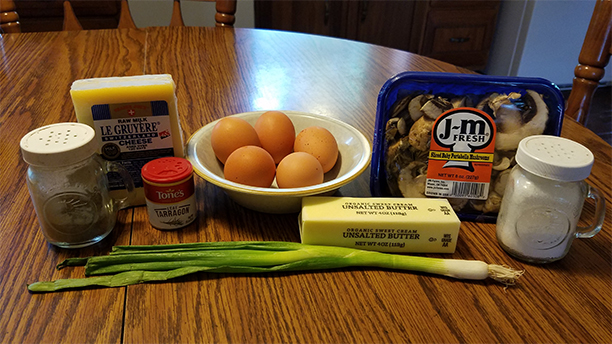
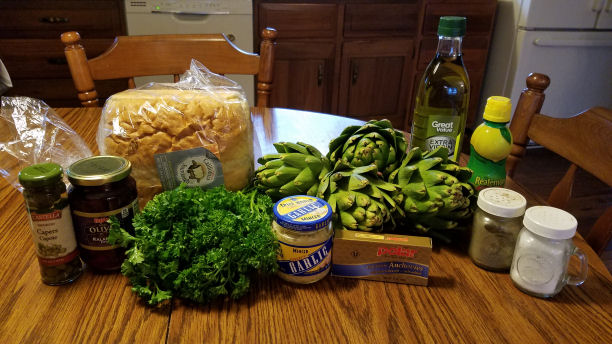
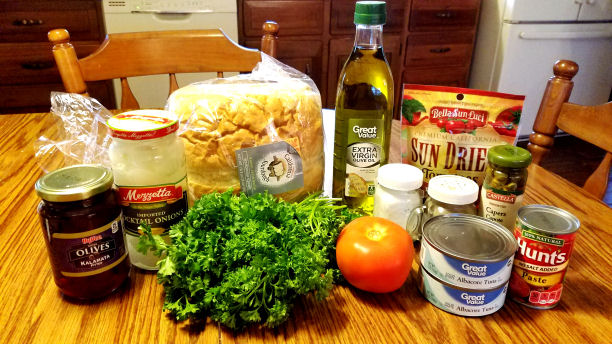
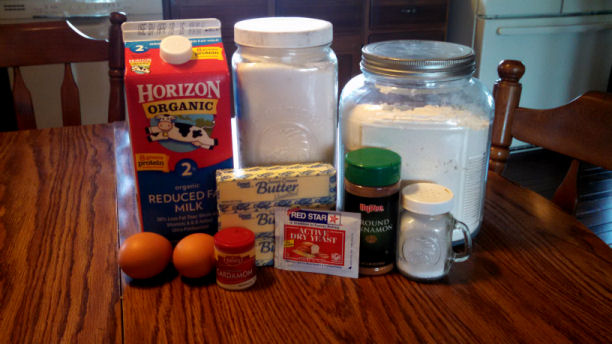
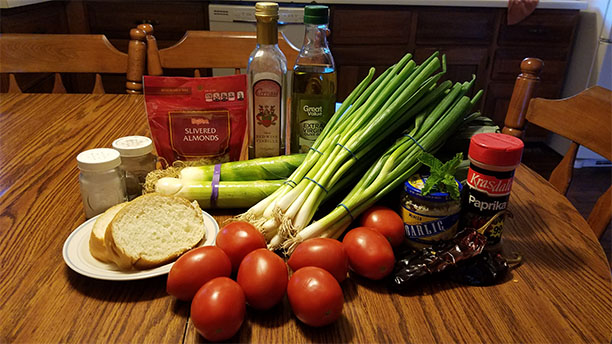
THE INGREDIENTS
For the “calçots”:
leeks
green onions
For the salvitxada:
8 plum tomatoes
1/3 cup slivered almonds
2 large dried New Mexico chilis
4 1/2 tsp minced garlic
1 1/2 thick slices of Italian bread (or similar bread)
olive oil sufficient for roasting and frying the roasted and fried things (plus more as needed to get the sauce to the right consistency)
1 1/2 tbsp red wine vinegar
1 sprig of fresh mint
generous dash paprika
salt & pepper to taste
A quick note: I recently added a couple of sentences to my “about” page noting that the weekly schedule just isn’t realistic for me right now. While I’m still hopeful that I’ll get back to that schedule eventually, for the time being, rather than cooking and blogging about something from a different country every week, I’ll be cooking and blogging about something from a different country every however-long-it-takes-me-to-cook-and-blog-about-it. I very much hope you’ll keep reading despite the current erratic schedule, because there are definitely many tasty things and many terrible jokes yet to come!